There WILL be “Fails!” Part 1
by Joseph Kreiss
One step forward, two steps back. It’s an old expression,
but many times as model railroaders, we feel this sums up our layout building
progress.
 I’m again building not one but two new layouts. Albeit a lot
smaller than before, but I still face challenges in tackling two stacked, but
totally separate shelf-style layouts. There’s bound to be a few missed steps or
ideas that just don’t workout. Of course, we always hope that the “fails” are minor
ones, more inconvenience than disaster.
I’m again building not one but two new layouts. Albeit a lot
smaller than before, but I still face challenges in tackling two stacked, but
totally separate shelf-style layouts. There’s bound to be a few missed steps or
ideas that just don’t workout. Of course, we always hope that the “fails” are minor
ones, more inconvenience than disaster.
Bench work framing and mounting construction is done for the
top-level Mosquito Creek Lumber Co. On30 layout. I have begun laying track,
doing wiring, adding layout lighting and painting background sections. I have a
section of the layout (Blackwater Engine Terminal area) powered and capable of moving
locomotives back and forth.
I thought it might be a good time to reflect on the progress
and talk about a few of the missteps that have happened….so far!
I guess it would be foolish to think that, even with numerous
layouts under my model railroading belt, I would have honed all the skills and
abilities, techniques and talents to slap together a small bedroom-sized shelf
layout in no time flat, and with out a glitch! Well, that’s not the case.
I decided before beginning this new pair of layouts I would
allow myself to use new materials and techniques, different than what I have
done in the past. I wanted to work slow, since the layouts are small, and do
things right, in the correct order so not to wreck what I already built or
installed. One example is not completing all the under-layout wiring on the top
level BEFORE adding details and scenery to the lower level.
I have allotted one long wall, the adjoining window wall and
little over half of space between the room’s second window and the corner of
the other long wall for the layouts. My first goal for the new layout was to be
leg-less in the train room. The space would still be used as my photography and
image editing office, with two desks, one for modeling work and the other for
the computer and my wife’s jewelry making supplies. Add to that a couple filing
cabinets, a printer, and a rolling stock storage cart and the room got real
full real fast.
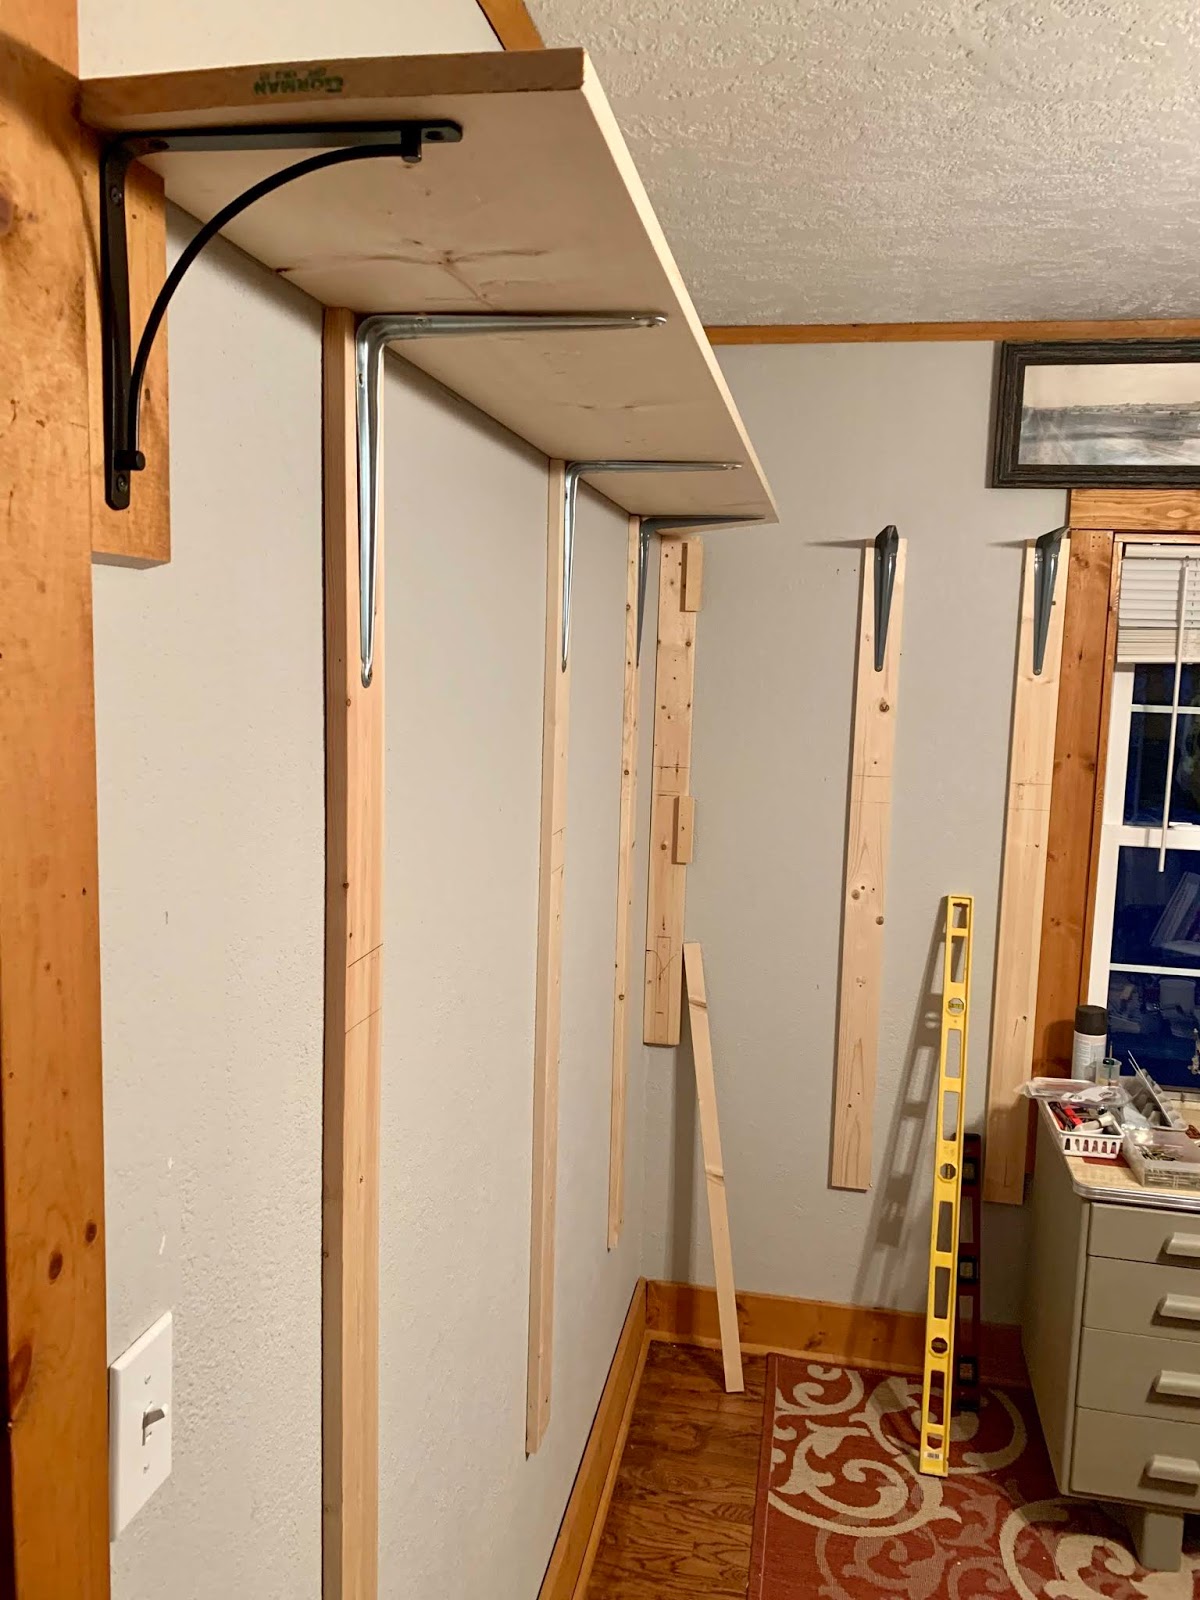
In my efforts to keep as much open floor space as possible,
I decided to mount the layout directly to the walls using brackets instead of
legs. Since I didn’t want to “booger-up” the walls too badly, I thought that attaching
1x4-inch boards directly with screws to the wall for a solid base would be a
good idea. I would mount the layout support brackets into the 1x4s. This way I
would only put three small screw holes into the walls making patching a snap if
the layout ever was removed. The bracket screws would go into the 1x4s.

Sounds great in theory. Somehow, the studs in the walls of
this old house-turned cabin weren’t exactly where they were supposed to be.
After the first screw hit nothing solid beneath the sheetrock, another attempt
was made to find the first stud about an inch to the side where that screw came
up empty. Still no luck. An electronic stud finder was of no help, beeping and
lighting up across the entire wall! So out came the finish nail and hammer to poke
and prod until that 2x4 was located.
Once the 1x4s were firmly attached to the walls it was time
to mount the long shelf brackets that would support the bench work frame. Of
course, the screws I had purchased for this task seemed a little long once I
got them home, but with a washer placed between the heavy-duty bracket and the
screw head, it would have to be “close enough” to get the job done. Plus, I didn’t
want to make the one-hour round trip drive to the hardware store to buy more
screws.
Long story short, I have a feeling the screws were indeed a bit too
long, and when the layout is taken down at some point in the future, the results
of my failed attempt to NOT damage the walls may become painfully
obvious!
More of my new layout “fails” in the next blog post! Thanks
for reading!
카지노 카지노 ラッキーニッキー ラッキーニッキー 온라인카지노 온라인카지노 fun88 soikeotot fun88 soikeotot william hill william hill 60
ReplyDelete